Screen recording has become an integral feature for many Mac users, allowing them to capture and share content effectively. However, there are times when it becomes necessary to manage these recordings, whether due to privacy concerns, avoiding unwanted footage, or simply needing to halt a recording done by mistake. Understanding how to efficiently stop a screen recording on your Mac not only enhances your user experience but also helps maintain control over what is captured and shared.
Understanding Screen Recording on Mac
Built-in Screen Recording Features
One of the most effective ways to record your screen on a Mac is through the built-in capabilities provided by macOS. The main tools include:
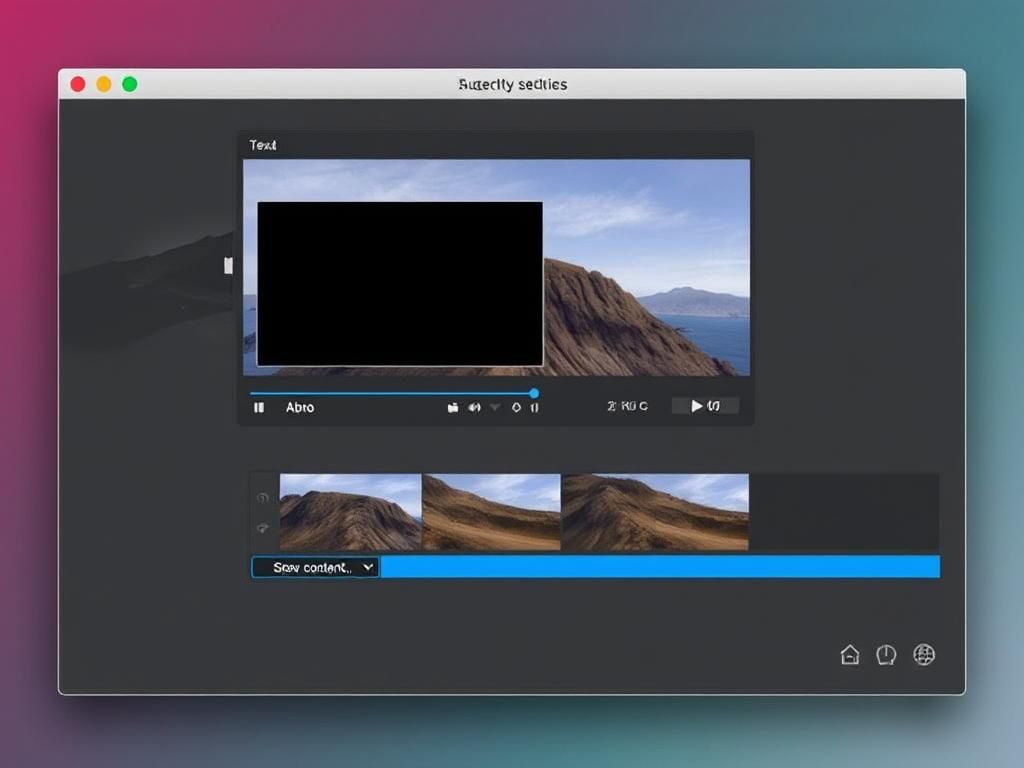
1. **QuickTime Player**: This powerful media player also provides users with an excellent screen recording feature. It allows you to record the entire screen or just a portion of it, making it versatile for various needs.
2. **Screenshot Toolbar (macOS Mojave and later)**: For users on newer macOS versions, accessing the Screenshot Toolbar is easy. This tool allows for quick screen recordings and has intuitive controls right at your fingertips.
3. **Third-Party Applications**: Aside from built-in tools, there are several third-party applications available for screen recording. These applications often offer more features, such as real-time editing and annotation options.
Common Reasons to Stop Screen Recording
Knowing when to stop a recording is crucial. Common reasons include:
– **Privacy Concerns**: Users might inadvertently capture sensitive information or conversations that should not be shared.
– **Unwanted Footage**: Often, a recording may capture more than intended, leading to potential embarrassment or the need to edit excessive content.
– **Capturing Errors or Unintended Material**: Mistakes happen, and sometimes recordings fail to align with user expectations. It may be essential to stop these recordings to avoid compiling unnecessary content.
How to Stop a Screen Recording Using Built-In Tools
Stopping QuickTime Screen Recordings
To stop a screen recording using QuickTime Player, follow these steps:
1. **Initiate a Screen Recording**: Open QuickTime Player and navigate to “File” > “New Screen Recording.” Choose whether to record the entire screen or a selected portion, and click “Record.”
2. **Step-by-Step Instructions to Stop a Recording**:
– When you’re ready to end the recording, look for the **stop button** in the menu bar, typically located in the upper left corner of your screen.
– Alternatively, you can use the keyboard shortcut **Command + Control + Esc** to stop the recording quickly.
This process ensures you’re in control of what is being recorded on your Mac.
Using the Screenshot Toolbar
Stopping a recording via the Screenshot Toolbar is equally straightforward:
1. **Accessing the Screenshot Toolbar**: You can activate this by pressing **Command + Shift + 5**. This toolbar presents all options related to screen capture and recording.
2. **Stopping a Recording from the Toolbar**:
– The toolbar displays a visual indicator, including a recording timer, which shows the recording is in progress.
– To stop the recording, simply click the **stop button** located in the toolbar.
Utilizing the Screenshot Toolbar provides an intuitive way to handle screen recordings without delving deep into settings.

Stopping Screen Recordings in Third-Party Applications
Common Third-Party Apps for Screen Recording
Popular third-party screen recording apps include:
– **OBS Studio**: Known for its advanced features tailored for live streaming and screen capturing.
– **Snagit**: A user-friendly tool that provides editing features alongside recording options.
These applications have their own methods for stopping recordings, typically streamlined for ease of use.
General Steps to Stop Recordings
When using a third-party application, follow these general steps to stop your recordings:
1. Identify the **stop command or button** within the application’s interface.
2. Most applications will have keyboard shortcuts, such as **F10** or **Command + Q**, which serve to halt the recording process.
Understanding these commands ensures that you can quickly end recordings when needed.
Troubleshooting Tips
What If the Screen Recording Doesn’t Stop?
If your screen recording fails to stop, consider these troubleshooting steps:
– **Force Quitting Unresponsive Applications**: If the application becomes unresponsive, hold down **Command + Option + Esc** to bring up the Force Quit menu. Select the app and click “Force Quit.”
– **Using Activity Monitor to End Processes**: Open Activity Monitor (found in Applications > Utilities) to locate and end the process associated with the recording application.
– **Restarting Your Mac**: In extreme cases, restarting your Mac can help halt all recordings and clear any unresponsive applications.
Saving vs. Discarding Screen Recordings
It’s important to consider whether to save or discard your recordings:
– **When to Save Your Screen Recordings**: If the content is helpful for tutorials, presentations, or personal archive, consider saving the recording by selecting “File” > “Save” in QuickTime or the respective menu in other applications.
– **How to Discard Unwanted Recordings**: If you wish to discard a recording, you can simply choose “File” > “Discard” in QuickTime or delete the video from your saved files.
Managing your screen recordings carefully ensures that your storage space remains organized and free of unnecessary files.

Updating macOS and Screen Recording Features
Keeping Your Mac Updated
Regular software updates are crucial for achieving optimal performance on your Mac:
– **Importance of Software Updates**: Staying updated enhances security, introduces new features, and fixes bugs that may interfere with applications, including screen recording tools.
– **Enhancements in Screen Recording Functionality**: Updates often include improvements in built-in recording features, making them easier to use and more efficient.
Managing Screen Recording Permissions
Control over your screen recording settings can be achieved through proper management of permissions:
– **Checking and Adjusting Permissions in System Preferences**: Navigate to “System Preferences” > “Security & Privacy” > “Screen Recording” to see which applications have access to record your screen.
– **Privacy Settings and Their Implications**: Be mindful of the permissions you grant. Limiting access may protect sensitive information but may restrict functionality in apps that need recording capabilities.
Conclusion
Knowing how to stop screen recording on your Mac gives you the control and flexibility needed to manage your digital content. From the built-in tools like QuickTime Player and the Screenshot Toolbar to handling third-party applications, familiarity with these processes enhances user experience and security. Embrace screen recording features responsibly, and don’t hesitate to share your own experiences or questions in the comments section below!
Frequently Asked Questions (FAQs)
Can I disable screen recording entirely on my Mac?
Yes, you can disable screen recording by adjusting preferences in “System Preferences” under “Security & Privacy” and then modifying the permissions in “Screen Recording.”
Will stopping a recording lose all footage?
No. Stopping a recording will not delete the footage if you save it before closing the application. You can recover recordings from the saved location.
How do I know if a recording is in progress?
When a recording is in progress, a small recording indicator will usually appear in the menu bar. In QuickTime, watch for the red dot, and for the Screenshot Toolbar, look for a timer.
How to quickly switch between recording tools on Mac?
Learn shortcuts specific to each application you use. For QuickTime, use **Command + Shift + 5** to access the Screenshot Toolbar directly.
What are common issues users face with screen recordings?
Some users struggle with unresponsive applications, improper configuration settings for permissions, or lack of sound in recordings.
Can I edit my recordings easily on Mac?
Yes. You can use QuickTime’s built-in editing functions or third-party software like iMovie to trim, split, or combine recordings for better presentation.
How much storage space do screen recordings usually take?
The size of screen recordings can vary significantly based on length, resolution, and supported formats. Typically, higher-quality recordings consume more space.
Do screen recordings save automatically when stopped?
Most built-in applications require you to manually save recordings upon stopping, while some third-party tools may have auto-save features.
Is there a limit to how long I can record our screen on Mac?
While macOS does not impose strict recording limits, storage capacity and application constraints may affect the maximum duration available.
Can I record audio while screen recording on my Mac?
Yes, using QuickTime Player, you can record audio along with your screen by enabling the microphone option before starting your recording.
Summary Table of Screen Recording Features
| Tool | How to Stop Recording | Key Features |
|---|---|---|
| QuickTime Player | Stop button in menu bar or Command + Control + Esc | Record screen, audio, edit |
| Screenshot Toolbar | Using stop button on the toolbar | Quick capture options, recording timer |
| OBS Studio | Stop button or F10 key | Advanced features, live streaming, overlays |
| Snagit | Stop button or Command + Q | Editing tools, easy sharing, annotations |
This comprehensive overview provides clarity on how to effectively manage screen recordings on your Mac, equipping you to use these features confidently and responsibly.

