Screen recording on Mac is a powerful feature that allows users to capture their screen, whether for tutorials, gaming streams, or business presentations. Understanding how to stop screen recording on Mac is essential to managing your recordings effectively and ensuring that you only save what you intend. This article will provide a comprehensive look at the various methods available to halt a screen recording, using both built-in tools and third-party applications, along with troubleshooting common issues.
Understanding Screen Recording on Mac
Built-in Screen Recording Features
Mac offers several built-in options for screen recording. One of the most popular is QuickTime Player, which allows users to record their screen easily. Additionally, the macOS Screenshot tool (activated with Command + Shift + 5) provides a user-friendly interface for recording. There are also many third-party applications available, like OBS Studio and Snagit, that offer more advanced features.
Common Use Cases for Screen Recording
Screen recording can be utilized in various contexts:
– Tutorials and Educational Purposes: Educators often use screen recording to create video lessons for online courses.
– Gaming Streams: Gamers frequently share their gaming experiences live or in recorded format.
– Business Presentations: Professionals may use screen recordings to present software demos or explain complex topics to clients or coworkers.
Stopping Screen Recording Using Built-in Tools
Using the macOS Screenshot Toolbar
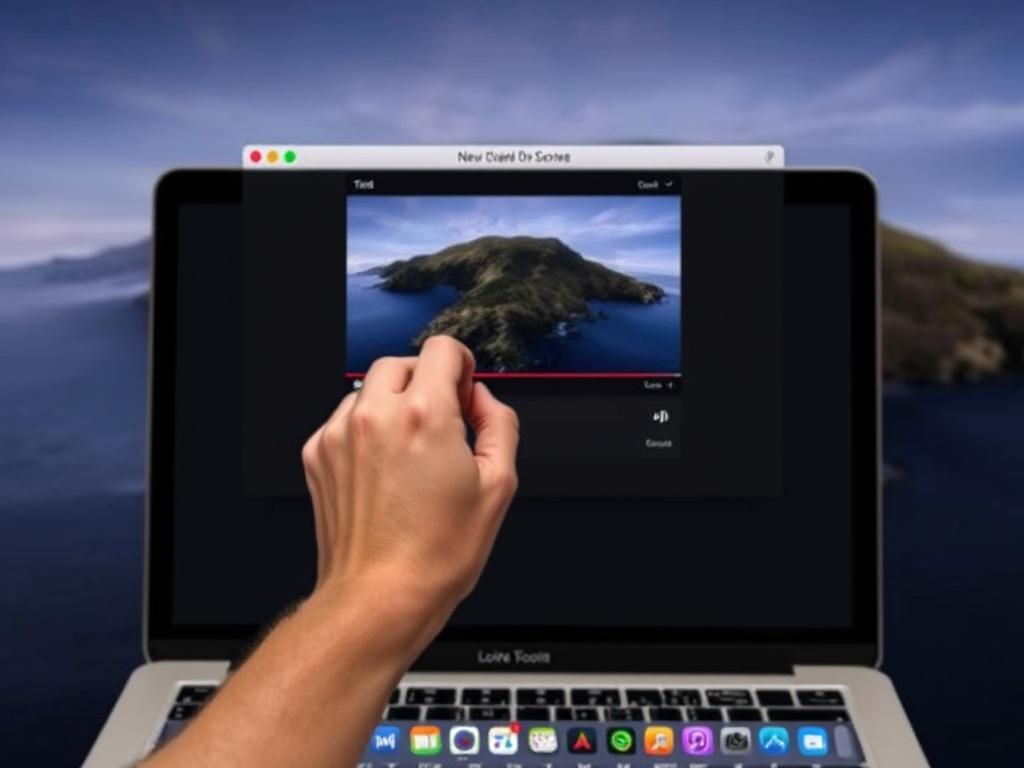
To stop screen recording using the macOS Screenshot Toolbar, follow these steps:
1. Open the toolbar by pressing Command + Shift + 5.
2. Once recording, look for the floating capture controls.
3. Click the square Stop Recording button; the recording will conclude.
4. Pay attention to the onscreen notification indicating that the recording has stopped.
To ensure the recording has stopped effectively, check for a small notification that confirms the completion.
Stopping Recording in QuickTime Player
If you are using QuickTime Player to record your screen, here’s how to stop recording:
1. Open QuickTime Player.
2. If a recording is in progress, you’ll see the status in the menu bar.
3. Click on the Stop button in the menu bar (the stop button appears as a square).
4. Alternatively, you can use the keyboard shortcut Command + Control + Esc to halt the recording.
5. After stopping, choose to save or discard your recording on the prompt that appears.
Stopping Screen Recording in Third-Party Applications

Common Third-Party Apps
Besides the built-in features, several third-party applications offer screen recording functionality. Popular options include OBS Studio and Snagit, both of which provide unique features but also follow similar processes in halting recordings.
Stopping Screen Recording in Each Application
Here’s how to stop screen recording in some common applications:
OBS Studio
– Use the “Stop Recording” button in the lower right corner of the interface.
– Alternatively, you can use the keyboard shortcut usually set as Command + Shift + R.
Snagit
– Open Snagit during a recording and locate the Stop button on the toolbar.
Other Notable Third-Party Applications
– Other apps like Camtasia and ScreenFlow have similar processes, typically featuring a stop button within their interfaces.
Troubleshooting Common Issues
Screen Recording Not Stopping
If your screen recording isn’t stopping, consider these possible reasons:
– The application may be unresponsive, preventing the command from registering.
– Check to see if any external keyboard shortcuts are interfering.
To troubleshoot:
– Force quit the application using Command + Option + Esc.
– Check system preferences under Security & Privacy to ensure screen recording permissions are granted.
Notification of Failed Saved Recordings
Sometimes, your recording may not save properly. This can happen if you run out of storage space or if the application crashes while saving. To avoid these issues in the future:
– Ensure adequate storage is available before recording.
– Regularly check the recording applications for any errors or updates.
Benefits of Managing Screen Recordings Effectively
Improving Workflow

Managing your recordings effectively is crucial for overall productivity. Knowing how to stop screen recording on Mac promptly prevents confusion and helps in organizing your files efficiently. For example, having clear and concise recordings can lead to better post-editing experiences, ultimately saving time.
Protecting Privacy
Properly ending sensitive recordings is essential for protecting privacy. Unintended recordings might capture confidential information. To mitigate risks, have a clear stopping procedure in place and double-check the content before saving it.
Additional Tips and Resources
Here are a few extra tips for effective screen recording:
– Always preview your recordings before sharing.
– Consider using a second display to manage and organize recordings better.
Links to official Apple support documents can enhance your understanding of Mac features (see [Apple Support](https://support.apple.com/macos) for more).
| Application | Stop Method | Shortcut |
|---|---|---|
| macOS Screenshot Toolbar | Click Stop | Command + Shift + 5 |
| QuickTime Player | Click Stop | Command + Control + Esc |
| OBS Studio | Click Stop Recording | Command + Shift + R |
| Snagit | Click Stop | N/A |
FAQ
1. How do I know if my recording has stopped?
You will usually see a notification that confirms the stopping of the recording.
2. What should I do if my screen recording app crashes?
Try to force quit the application using Command + Option + Esc and restart it.
3. Can I record my screen without audio?
Yes, you can choose to disable audio input in the recording settings before starting your screen recording.
4. What common issues can occur with screen recordings?
Common issues include recordings not saving, software crashes, and unintentionally capturing sensitive content.
5. How do I manage large screen recordings?
Split them into shorter segments, and save regularly to avoid data loss.
6. Are there any free screen recording applications?
Yes, OBS Studio and the built-in tools on Mac are free options.
7. What file formats are used for screen recordings?
Screen recordings are usually saved as .mov or .mp4 files based on the application used.
8. Can I edit my recordings after stopping them?
Yes, most applications allow for post-editing of recordings after saving them.
9. How can I ensure my recordings maintain high quality?
Use optimal settings within the recording application and save in a high-quality file format.
10. Is it necessary to save every recording?
No, you can discard recordings you do not need, which can help conserve storage space.

